
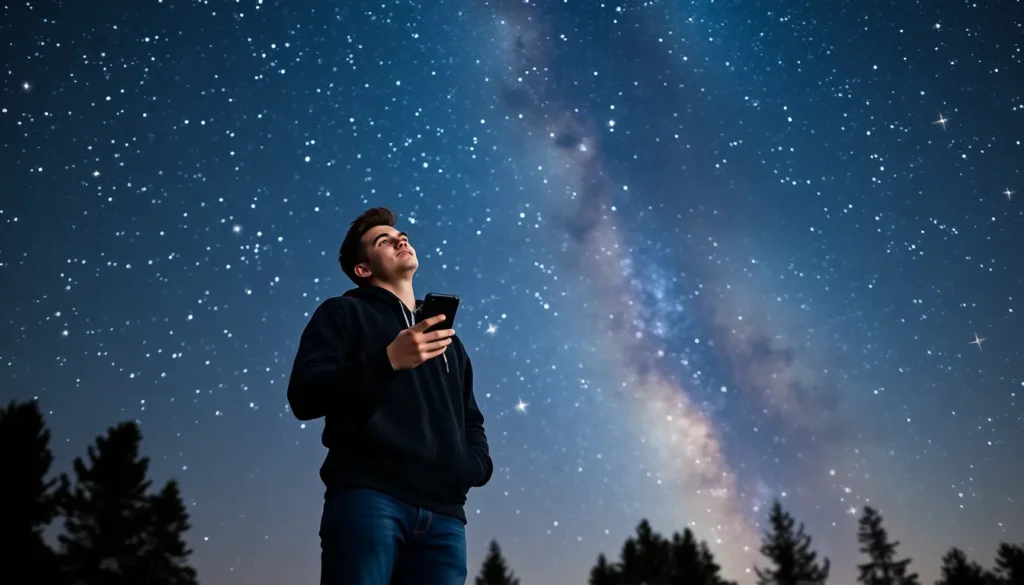
Capturing the beauty of the night sky doesn’t require a fancy camera or a degree in astrophysics. With just an iPhone and a sprinkle of creativity, anyone can snap stunning star pictures that’ll make friends think they’ve got a secret connection with the cosmos. Who knew that your pocket-sized device could turn you into a nighttime photographer?
Understanding Astrophotography
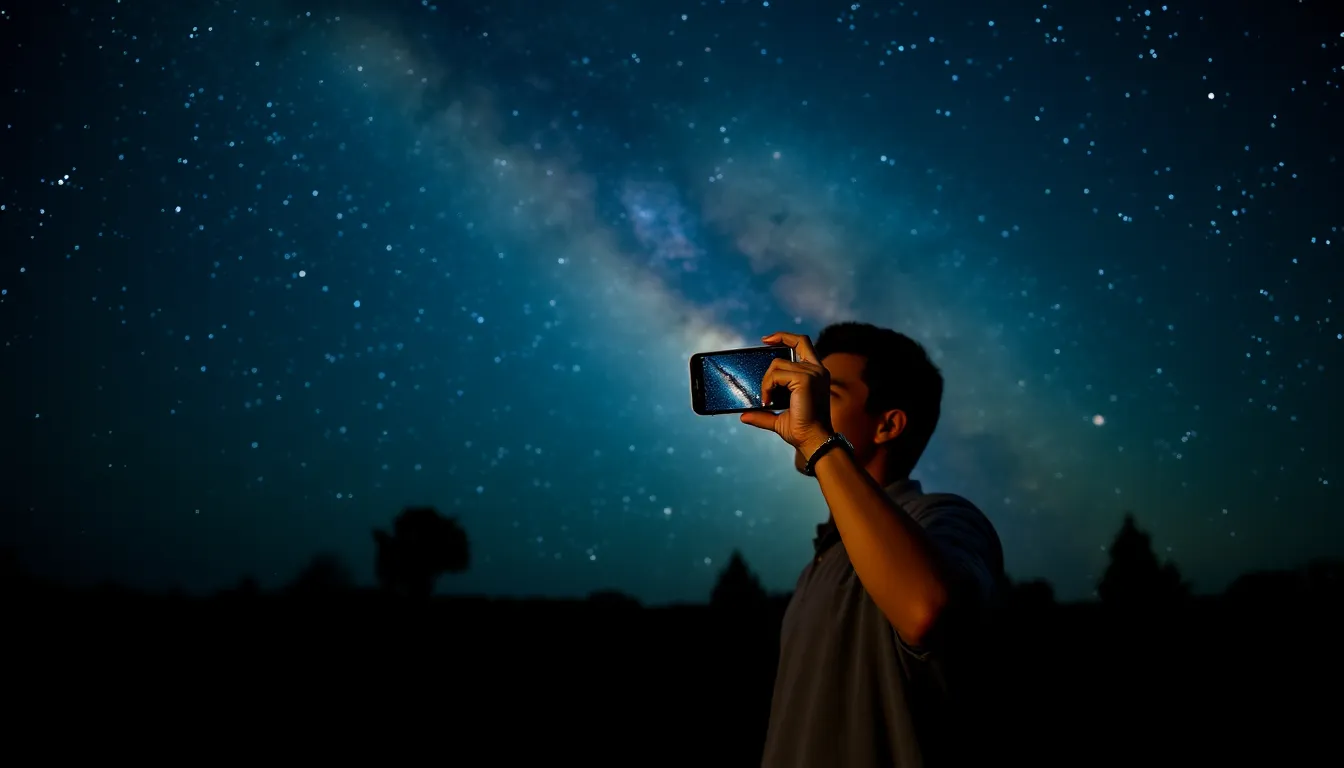
Astrophotography involves capturing images of celestial phenomena. Nighttime scenes, such as stars, planets, and the Milky Way, become more accessible with an iPhone. This form of photography emphasizes long exposure, which allows more light to enter the camera sensor.
Lighting plays a crucial role. Identifying dark locations away from artificial lights enhances visibility of stars. Users should also consider weather conditions. Clear skies increase the chances of capturing detailed images.
An important aspect involves camera settings. Adjusting exposure length and ISO sensitivity can significantly affect the final photograph. Using a tripod stabilizes the iPhone, avoiding blur caused by hand movement. Many astrophotographers opt for third-party apps to unlock advanced settings.
Creativity transforms ordinary images into unique masterpieces. Composing shots with foreground elements adds depth and narrative. Focusing on different constellations or celestial events offers various opportunities for exploration.
Timing can also enhance results. Capturing astronomical events, like meteor showers or lunar eclipses, presents special moments. Knowing the best times for exposure can maximize image quality.
Investing time in practice leads to improved skills. Repeating techniques and experimenting with different settings builds familiarity. Sharing successes and learning from failures contributes to personal growth in astrophotography.
Understanding these fundamentals empowers users to capture stunning star pictures with their iPhones. Each element, from settings to location choice, contributes to achieving remarkable results.
Preparing Your iPhone
Preparation ensures optimal results for capturing star pictures with an iPhone. It involves selecting the right model and updating the camera app for enhanced performance.
Choosing the Right Model
Selecting an iPhone model influences the quality of astrophotography. Devices with improved cameras, like the iPhone 11, 12, and later models, feature enhanced low-light performance. These models include Night mode, which automatically adjusts exposure to enhance details in the dark. Additionally, higher-resolution sensors improve clarity, allowing for sharper images of celestial bodies. Users should assess their iPhone’s capabilities to maximize photo quality during night sky shooting.
Updating Your Camera App
Keeping the camera app updated optimizes functionality for capturing nighttime scenes. Regular updates often enhance features and performance, ensuring the app is equipped with the latest tools. Users can check for software updates in the Settings menu, which can include improvements for low-light photography. Third-party camera apps like NightCap or ProCamera offer advanced settings like manual exposure and ISO control. Utilizing these apps provides greater flexibility, making them valuable for serious astrophotographers.
Setting Up for Star Photography
Capturing star pictures requires careful planning and setup. Several factors contribute to successfully photographing the night sky.
Finding the Best Location
Choose a dark site away from city lights to minimize light pollution. Heading to national parks or remote areas significantly enhances visibility of celestial objects. Check local maps or apps that indicate light pollution levels to identify optimal spots. Prioritize locations with clear, unobstructed views of the horizon. High-altitude areas often reduce atmospheric interference, providing clearer images. Emphasize safety and accessibility; ensure the site is reachable at night with ample space for setup. Being aware of nearby trees or structures can prevent obstruction of the night sky.
Timing Your Shoot
Plan to shoot during astronomical events for the best results. Dark moon phases are ideal as less moonlight enhances star visibility. Consider the weather; clear skies yield sharper images while overcast conditions obscure stars. Use apps to find the best times for stargazing, including schedules for meteor showers or the visibility of planets. Knowing the Milky Way’s seasonal positions can enhance composition opportunities. Start shooting just after sunset to capture the deepening twilight, allowing stars to pop against the darkening sky.
Camera Settings for Star Pictures
Capturing stunning star images requires optimal camera settings. Adjusting the right features significantly enhances the quality of night sky photography.
Night Mode Features
Night mode on newer iPhone models, like the iPhone 11 and later, allows automatic adjustments to exposure and brightness. This feature detects low-light conditions and activates longer exposures to gather more light. Users should select Night mode from the camera settings, positioning the phone steadily or using a tripod to maximize stability. The result is clearer, more detailed captures of stars and celestial bodies. Depending on the scene, the iPhone can also suggest the optimal duration for exposure, simplifying the shooting process.
Manual Settings Adjustment
Manual adjustments provide greater control over star photography. Switching to ProRAW or a third-party app like NightCap or ProCamera allows users to modify ISO, exposure time, and focus. For star images, a longer exposure time between 15 and 30 seconds helps capture more light from celestial objects. Setting the ISO between 800 and 3200 balances sensitivity and noise, yielding clear images. Together, these adjustments can produce striking results, showcasing the beauty and intricacy of the night sky.
Tips for Capturing Stunning Star Pictures
Capturing impressive star pictures requires attention to detail and effective techniques. Following specific strategies enhances the quality of night sky photography.
Using Tripods and Stabilizers
A steady shot improves clarity in star photography. Using a tripod eliminates blur, allowing longer exposure times without camera shake. Stabilizers also provide additional support, essential when shooting in challenging terrains. Many photographers recommend selecting sturdy tripods for stability. Compact tripods offer portability without sacrificing quality. Some prefer using external stabilizers for added security, especially in windy conditions. Experimenting with adjustable tripods can help find the perfect angle.
Avoiding Light Pollution
Finding a location away from artificial lights plays a significant role in capturing vibrant star images. Dark areas, such as national parks or rural settings, provide optimal visibility of celestial bodies. Utilizing light pollution maps can help identify suitable locations, ensuring minimal interference from city lights. Timing visits during new moon phases enhances visibility further since darkness reveals stars more clearly. Understanding the effects of different types of light pollution on photography is crucial. Embracing these strategies allows photographers to capture stunning wonders of the night sky.
Capturing stunning star pictures with an iPhone is more accessible than ever. With the right techniques and a bit of creativity, anyone can transform their nighttime photography skills. By focusing on key elements like location, camera settings, and timing, users can enhance their ability to capture the beauty of the night sky.
Investing time in practice and experimentation will yield impressive results. Whether it’s using Night mode on newer iPhone models or exploring third-party apps for advanced controls, every step taken contributes to the overall quality of the images. As they venture into the world of astrophotography, users will find that the night sky holds endless opportunities for breathtaking captures.


